Showing posts with label Tutorials. Show all posts

Friday, September 28, 2012

Which Is The Right Foundation For You? (Part-1)

This is like I think the most asked question and the most difficult question to answer... Let's have a show of hands about how many of you are with me here :P

When I started out with make-up, I was shit scared of wearing foundation cause I did not want to look like a ghost and kept looking for answers to this questions on various blogs and forums. Today, when I am a seasoned beauty blogger, I still dread my readers asking this question to me. Why? The reason simply being that we have very very different skin textures, skin tones, body heat, pH balance and well expectations from a little wonder that we call a foundation. Yes all of these factors contribute to finding the perfect foundation for yourself and it is no easy task to "recommend" a single product to anyone.

Image Source

So I thought I'll go ahead and list out the factors that one needs to keep in mind when going for a foundation. Also, do note that this post is a 2 part post and the 2nr part of the post will be coming along pretty shortly as well, where I will be listing out some of my really favorite foundations...

Foundation according to one's skin type
I cannot even begin to tell you all how important it is choose a foundation that is according to your skin type. Yes it is the most important factor and the most significant attribute in making or breaking your look. 

It's terrible to see a matte finish on a dry-skinned beauty because with time, dry skin tends to become drier and by the end of the night you will left feeling really uncomfortable due to your stretchy skin that will also end up itching a lot. Trust me, I have really dry skin and I have been through this particular trauma.

On the other hand, oily skinned ladies will face the issue of their skin becoming more and more oily as the evening wears on and having a matte skin when you started the evening would really help! 

Foundation according to one's skin tone
With our lives being under microscopic scrutiny through social networking sites like Facebook, Twitter and the like, every moment of our lives especially celebrations are recorded in pictures and images for everyone to see and "judge". It is of therefore of utmost importance to have everything right and that starts with the right foundation!

I cringe when I see a beautiful face made "unpretty" because of the use of a wrong foundation. The biggest mistakes we tend to make when using a foundation is getting the undertone all wrong... Just because you and I both are on the fairer side doesn't mean that you and I will suit the same foundation. It is extremely important that you know your undertone. I have a yellow undertone and I make it a point to pick up a yellow-based foundation only even if the SA is telling me the other way round.

If you want your foundation to blend seamlessly into your complexion, you must match it to your undertone.

Different Foundations for different seasons
Yes I have different foundations for different seasons and it is one of the major factors that contributes to you looking flawless 365 days a year. I tend to use a lighter coverage foundation during the summers and a "heavier" foundation during the winters. I avoid foundations during the monsoons cause I have a phobia of clogged pores during the humid weather.

Different Foundations for different weathers
My parents stay in Mumbai, which is humid to the core and I stay in Pune, which is like one of the driest places I lived in. The dryness in Pune and the humidity of Mumbai just 200 kms afar never ceases to amaze me. But keeping geography aside, the point to note here is that have different foundations for different cities is the key to not being caught like a deer in the headlights...

I love using my Maxfactor Second Skin liquid foundation in Pune and Colorbar's stick foundation/TBS Extra Virgin Minerals Cream Compact Foundation in Mumbai. 

Which one should I go for? Liquid, Cream/Powder Compact or Stick?
This again is something that you'll be able to answer yourself with a few experiences in your pocket! I generally prefer a liquid foundation when I know the evening is going to be long, maybe stressful and well when I will be alternating between AC and non-AC.

When I was getting married, I had used my Maxfactor Second Skin Liquid Foundation on myself. It stayed put all night like how a good foundation is supposed to but the amazing thing was that it did not oxidize! With stress, our body starts releasing a lot of hormones and pheromones and not to forget heat that tends to oxidize the foundation and make it go darker. I have seen out of my own experience that liquid foundations tend to fight oxidizing more effectively than the cream compact ones.

Once the foundation is done, I am ready to go right?
Wrong! Once you have found your perfect foundation and it blends into you, it is really important to "sculpt" your face. A foundation especially heavy coverage ones tend to make your face look flat as they hide every indent, every curve on your face. Thus you need to highlight and lowlight your face to give it dimension. If you are not confident using a bronzer or a contour shade, just a dab of blush at the right location can do wonders!

Some cardinal rules that I follow:
1. I always use a primer under my foundation.

2. I always moisturise my face before applying the primer

3. If I feel the foundation not gliding smoothly on my face then I run far away from it. For dry skin beauties, your foundation should easily glide on your skin. For oily skinned beauties make sure that your foundation does not glide too easily on your skin :P

4. I mostly use a light coverage foundation and so always keep my face bleached... Fine hair visible under the foundation is as gross as it can get.

5. I always buy a yellow-based foundation as it suits with my undertone. 85% of us Indians have a yellow undertone. 

Do not listen to anyone... Do your research and do not be afraid to try out a couple of foundations before you settle onto the one that suits you best :)

Saturday, July 14, 2012

Hair Tutorial (Video): Three Ways To Pouf Your Hair

On popular demand I am here with my first hair tutorial :) It's a basic tutorial that shows you three ways to pouf your hair and look all glamorous Hollywood style ;)


I hope you guys like it and do like and comment on it. And yes please do subscribe to my youtube channel here:


And here's the link if you want to watch it directly on youtube :)
http://youtu.be/LSTrPgu_wwk

You can subscribe to my YouTube Channel Here :)                                           

Thursday, June 14, 2012

READER QUERY: Tips For Natural Looking Makeup

Hi Samyukta,

Thankyou for your response !
I am a make-up fan, however, don’t like patchy/loud makeup..After seeing your nude make-up, I’ve fallen in love with it and would be keen to learn the techniques…Also, would like an advice on whether it will suit me & what best colours could go with my complexion...I would appreciate if I could be one of the selective few to understand this style from you J

Regards
Reshma Suri

Thank you Reshma for your kind words :) I am so glad you liked my nude/natural makeup look and would like to try it out for yourself too :) I feel honored...

Here are a few looks of mine in neutral/nude makeup...


If you observe all these looks closely, you'll notice a pattern... Glowing skin, defined lips and healthy glossy lips. So we're gonna see how we can achieve that today...

Now before I start with various techniques and pointers to achieve a flawless natural lool here is a list of tools and products that we shall be needing:
1. A blending brush 
    I recommend either Faces 106 or MAC 227 brush

2. A neutral eye shadow or an eye shadow palette
    I recommend either Maybelline Diamond Shine eye shadow quad in Copper 
    Brown or MUFE Star Powder in Shade 940 or actually any neutral shade that 
    you have would do :)

3. A nice highlighter and bronzer
    I love using the Lakme Absolute Moonlit Highlighter Duo.

4. A Nude Lipstick (Matte preferable)
    This should be any lipstick that looks nude on you. I recommend either 
    Colorbar Velvet Matte Lipstick in Bare or any of the nude MAC lippies... I 
    personally prefer MAC Taupe :)

5. A Clear Lipgloss
    I love using Body Shop's Lip Treatment Gloss in Beige Sparkle. You could use 
    any of your favorite clear glosses :)

6. A light to medium coverage foundation which gives a dewy finish 
    rather than a matte look.
    I have dry skin and I swear by these three foundations: Maxfactor's Second 
    Skin Foundation, TBS Extra Virgin Minerals Cream Compact Foundation and   
    MAC Mineralize Compact Foundation with SPF15. 

7. A Concealer
    If you don't have a dark circles problem you can easily get away with 
    Colorbar's Stick Concealer. I use it and love it! If your dark circles' problme is 
    more persistent I would suggest MAC Select CoverUp concealer. 

Now for the basics... When doing a nude/natural makeup there are the basic steps,
1. Since we shall be using only nude/neutral colors, it is important to give your maximum efforts to your skin. We need the skin to look flawless and polished. Avoid going for a matte look as it tends to look severe. Rather aim at making your look glowy and dewy :) It automatically takes years of your face and makes one look fresh and attractive.

2.  Try to use a light coverage foundation if you already have good skin... Go for medium coverage if there are a few areas that you want to cover up. DO NOT use a heavy coverage foundation. It ends up looking all "made up" and hence defeats the purpose of a natural looking makeup :)

3. Use concealer on the under-eye region. Yes using a concealer is a must. You can skip other regions, but under eye concealing should not be skipped. It can make or break your whole look in a second!

4. Use the concealer under your foundation!

5. If you wish you could finish off the base makeup with a finishing powder especially if you are worried about oiliness. I generally do not use a finishing powder cause not using one works for me better than using one :)
If you are using a finishing powder be sure to use one without any glitter or reflecting particles!

6. Once you are done with your base, apply your eye primer and then your neutral eye shadow on your lid with a flat eye shadow brush in a "pat-pat" motion. Do not rub or swipe the shadow but "pat" it to apply for better pigmentation.

7. Next taking a blending brush, blend the edge of the eye shadow in the crease area in a wiper motion. This basically blends out the harsh edges of the eye shadow and gives a more "natural" look to your eyes :)

8. Next apply a brown liner on your LOWER lashline. And apply a thin black line of liner on your upper lashline. The key is to have a lighter liner on your lower lashline and a darker shade on the upper lashline. This makes the eye pop up and not look tired!

9. Then apply some highlighter shade to your browbone area. I strongly recommend MAC Ricepaper for skintones NC36 to NC45.

10. Finish off the eye makeup with a lavish coat of volumizing mascara :)

11. Next apply a neutral looking cream blush patting it with your fingers... Then apply a matte powder blush of your choice on top of it very lightly.

12. Apply your favorite nude lippy and top it off with a hint of clear gloss only in the middle of your upper and lower lip.

13. Finally finish off with a sweep of highlighter on your cheekbones, bridge of your nose and the center of your forehead. 

Optional 
Now, these optional tips are to be followed according to season and occasion.
1. If it's Summer, instead of the cream and powder blush combo, you could use a bronzer on your cheekbones and the bridge of your nose and bit on your chin. This gives a sun-kissed look.

2. If it's the rainy season, be sure to go for water-proof makeup and instead of a nude lippy go for a bright shade like Coral/Pink. 

3. If it is the Winter season, you can go for a richer shade of lipstick like Berry, Plum or Fuschia Pink or my favorite Red :)

4. If the occasion asks for a "dressy" look, instead of a neutral eye shadow go for a golden eye shadow and instead of nude lips go for a brighter shade.

5. If you are getting ready for office, you can altogether skip the highlighter.

6. Finally, if you just want a change from the routine natural looking makeup, use a pink eye shadow on your lids and define your lower lashline with kohl instead of a brown liner :) But remember to line your upper lash line with a black liner.
OR
Line your upper lashline with a fun, colored liner like Metallic Blue, Silver Grey or even Green :)

I hope this post helps you Reshma and even anyone wants to add anything else then please do so through the comments section :D 

Friday, May 4, 2012

Reader Query: How to Get a Glow for Dry Skin

I keep getting a lot of queries for getting glowing skin, but this I guess is the first time I got one that sounded really earnest... So rather than rattling out "my" skin care regimen and products, I decided to do an in-depth post about it. I analysed and researched a LOT and I finally came up with this...

Do read on... And btw this is what Vani asked :)

Hey Suma :)

First thing Kudos to you and your blog... I just love you and your cute face.... and yes you have a wonderful smile :)

Keep doing this good job..

My query is I apply moisturizer (fab india green tea) and then I apply maybelilne BB cream but somehow I feel my skin is not glowing from inside. I feel that I am missing somewhere... I am always confused when should I use sunscreen (though maybelline BB cream has SPF 21+) and also do I need to apply loose powder. I have dry skin and after applying the BB cream my skin looks bit oily. I have dark circles as well so please suggest me what cream should I use to make my skin have that glow which you have (hahahaaa :*).

Please suggest me a loose powder suiting dry skin, a sunscreen, something to conceal dark circle (daily wear) and also the techniques to apply this and also after which step do i need to apply BB cream.

With Luv,
Vani 

First off, let me state that there are 2 ways we can get glowing skin. One using makeup and the other by using the right skin care products. I'll cover both here :)

1. Glow with MakeUp
If you want to "glow" using makeup then there are a few points you will need to keep in mind...
i) Finding the right base. I find Maybelline's BB Cream to not work for me if worn for a longer duration. 3-4 hours is fine with it but it cannot survive 8 hours in office on me. I find it makes me feel dry on the cheeks and forehead but makes the T-zone oily! If you want to use a base on a daily basis you could either look for a Tinted Moisturizer that suits you or get yourself a light coverage mineral foundation or do what I do and mix a liquid foundation meant for dry skin with your moisturiser and apply it :) 
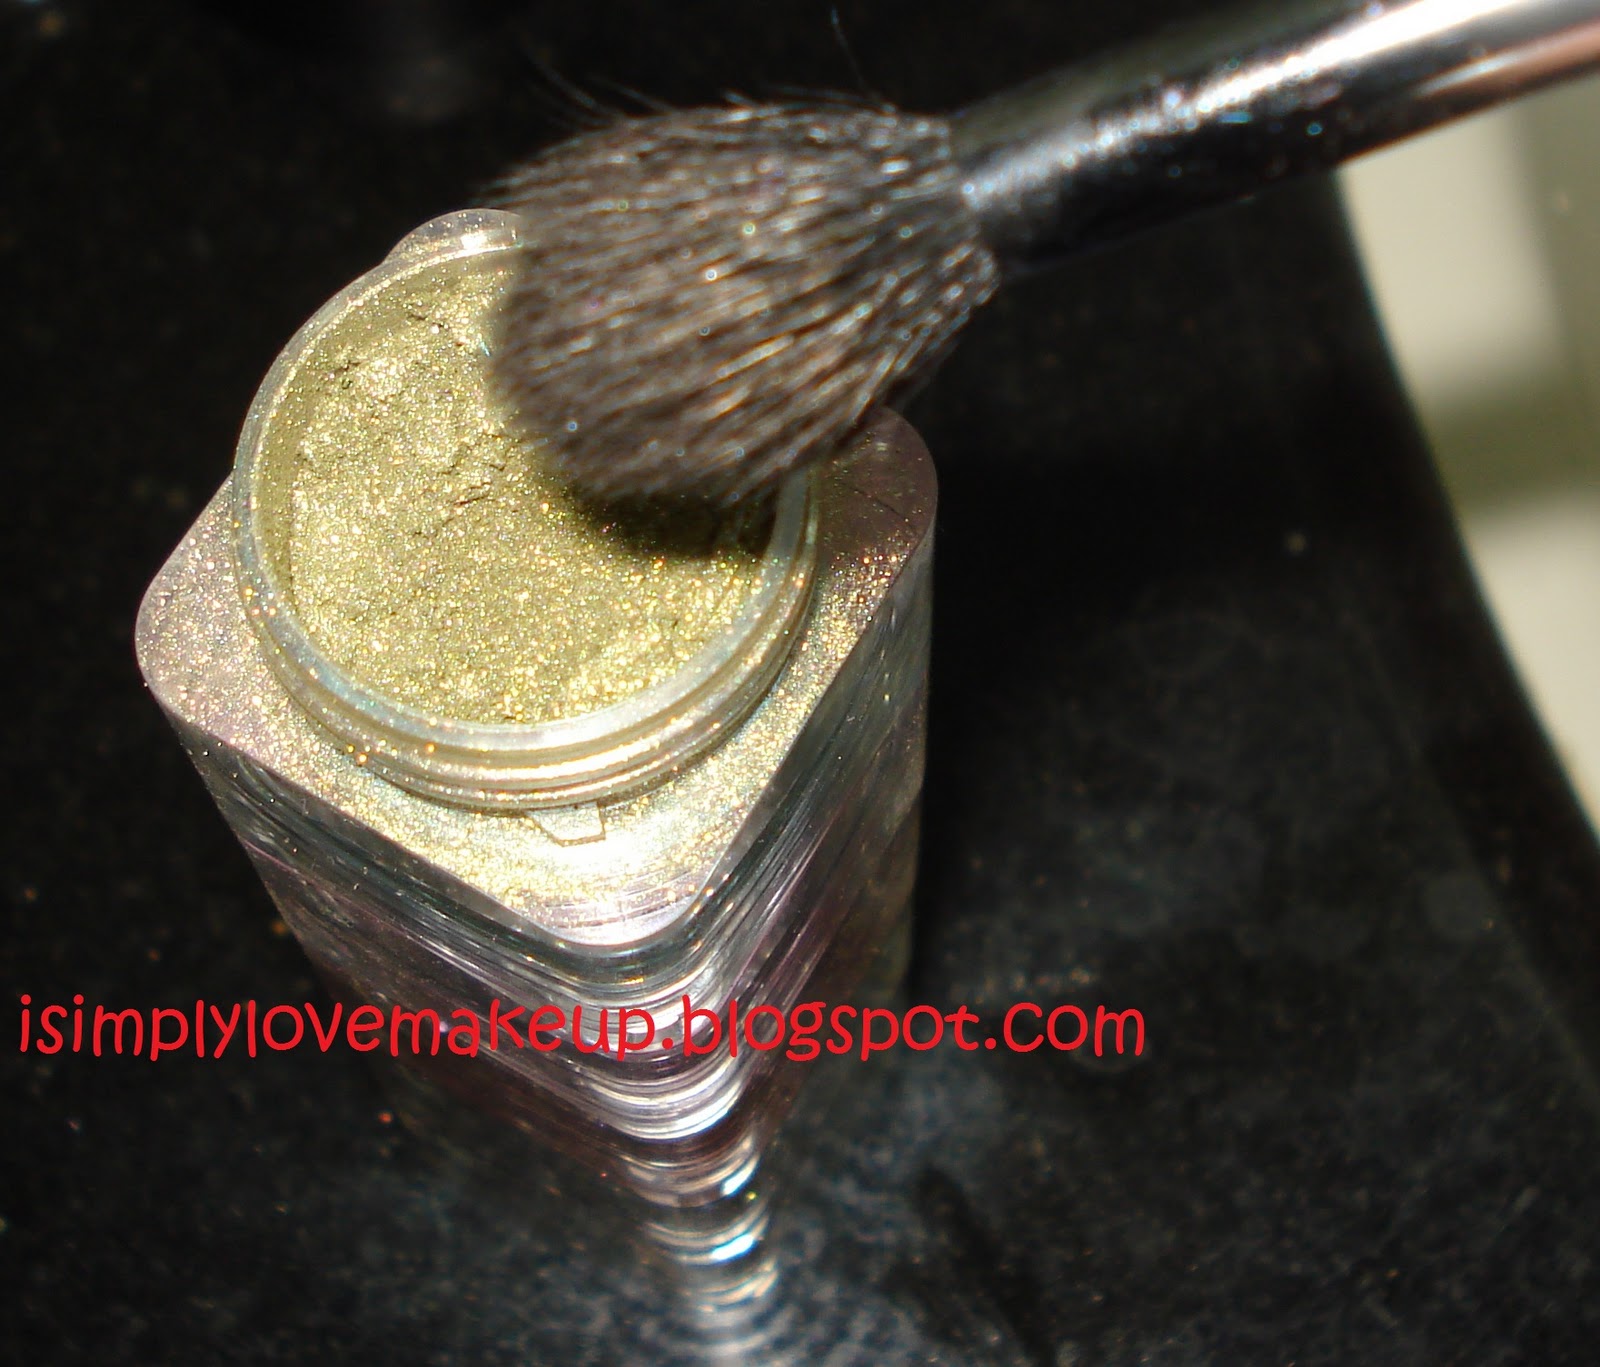
ii) Also use a cream blush instead of a powder blush. It is guaranteed to give a glow to your cheeks :) Remember to apply the cream blush in a "pat-pat" motion :)

iii) Use a highlighter lightly on the bridge of your nose and apples of your cheeks to get that instant glow! Though this tip should be avoided in college/office :P


2. Glow with Skin Care 
This is the way that is my favorite cause it is lasts longer and gives you a natural glow :) So let's get started. Do note that I am assuming that you follow a "healthy" diet. There are two things that keep one's skin from glowing and that is "dryness"/lack of moisture and dead skin. Yup these are the only two things that you need to fight in order to get your skin to glow and look flawless :) 

Of course combating dead skin is easy, you need to get yourself a good face scrub and exfoliate at least once in a week. I exfoliate twice a week cause it works for me better. You need to find what works for you and follow that :) I oscillate between FabIndia's Walnut scrub, St Ives Apricot Scrub and EverYuth's Peach scrub. 


Now let's look at a strategy to fight against lack of moisture. All skin types including Oily skin need the right amount of moisture and since Vani you have mentioned that you have dry skin, moisturising should be your foremost priority. You use FabIndia's Green Tea Moisturising Lotion but I am guessing it isn't working for you cause it is more of a "All Skin Types" lotion. Us dry skin beauties need to take "dry skin" very seriously because if not taken care of properly we are the first ones to show signs of aging in the form of wrinkles. Therefore I would suggest going for moisturisers that are specific to dry skin only! You will need to try out a couple of samples of different lotions and creams to see what suits you best! I generally use TBS Vitamin E cream and Garnier's Body Cocoon on my face.The next time I am in either Mumbai or Delhi, I will be picking up their UltraFacial Cream as well cause I had tried the sample and it proved to be heavenly for my skin :) You should try that out as well :)

Also, if you live in a humid city like Mumbai, Kolkata, Vizag, Kochi etc, then I would suggest you to apply Almond Oil on your face, neck and arms every third night before you go to sleep. If you stay in a "dry" city like Pune, Delhi, Bangalore etc like I do then I would suggest you to use Olive Oil every alternate night before you go to sleep :) I stay in Pune and use Olive Oil :)

Remember Moisturising is the key to Glowing skin especially if you have dry skin :D

Also do note that regular exercises and lots of fruits in ones diet gives a lovely natural glow too :)

Regarding your other queries:
1. Since you have dry skin you needn't use loose powder. I mean there is no need for it :) Why do you want to clog your pores for no reason at all? :P

2. Concealing dark circles is a MUST. If you have light circles under your eyes like I sometimes get, use a lighter concealer like Colorbar's stick concealer. If your dark circle problem is more persistent then I would suggest you to go for either Bourjois or MAC. They are the best in the market :D Clinique is also awesome!

3. Sunscreen should be worn when you plan to go out in the sun even if it is for 10 mins. You can use it above your moisturiser like I do. Lakme's New Sun Expert Range suits me very well :)

I hope all this helps you :) If you need to know more please do not hesitate to get back to me :)

Thursday, April 26, 2012

Reader Request: Kareena Kapoor's Makeup For Tanned Skin

Ms Nyx asks,
Hey Samyukta,

Let me begin by telling you that I have spent hours checking out your blog. Love the effort you put in and although I'm a new follower, I'm hooked. I have 2 requests.

1. I love how Kareena's makeup is usually a soft eyeliner, with blush and it looks like she hasn't used bronzer to sculpt her face here and here - my prob is every time I use peachy blush like her I end up looking more tan than I am. Are there any alternatives except for pink? I don't want color to drain off my face. Please, could you do a Kareena Kapoor inspired makeup tutorial for tanned skin?

2. What's your take on mineral blushes for the summer? My powder blushes just disappear during the day and cream blushes ain't for me cuz it makes my skin oily. 

It'll be really nice to hear from you. Keep up the great work!

Love,
Ms. Nyx of Bak Bak Queen

First off thanks so much Ms Nyx for liking my blog so much :D and appreciating the effort that I put into it :) Yay! This is exactly why I loved Reader Requests so much cause everyone starts with saying something nice :) Mmmmmuuuaaahhh love you all for that! Yup am a teeny bit of a narcissist ;) and all these nice things keeping fueling my ego and in turn I keep trying to do nicer looks for you all ;) See we ve worked out such a nice win-win situation for each other :P Pure Genius I say! *giggle* *giggle*

1. You are totally right with Kareena Kapoor's makeup... Its so soft and feminine and it somehow looks like she does her makeup herself rather than relying on a MUA, which her a "realness" :) And since you have asked for a tanned makeup tute, i think the timing is perfect as I have tanned two shades darker... 


Yup using a peach or a coral blush can make one look shades darker than we really are and yes it does sometimes make one look washed out too... Nothing attractive about that. In order to emulate her blush tone, we need to understand one thing... She is going for an overall "sun kissed" look and since she is super fair, a peach blush is doing the trick for her... For medium skinned and tanned beauties like us (Ahem!), we can achieve this look by either using a bronzer as a blush or using a peach toned blush with golden shimmer. I have and have used Lakme Absolute Moonlit Highlighter's darker shade on my cheek bones. Maybelline's Powder Blush in Apricot Flush also gives the same results :)
Maybelline Blush in Apricot Flush
Lakme Absolute Moonlit Highlighter
The Look

 Now for the tutorial...
Eyes
a) Notice that she likes to liner her eyes (waterline and tightline) with kajal and then smudges it around eyes to give that "soft" look. For this I have used Maybelline's Gel Liner in black and Colorbar Flat Eye Smudger Brush no 122 to smudge around the eye area...
The Flat Smudger Brush
Apply gel liner/kajal on the waterline and tightline

Smudge the liner under your lashes
Do the same on the upper lashline as well

b) She wears falsies! Yes she does but not the complete set but singles. If you can manage single falsies, then good else stick to a nice volumising and a lengthening mascara :)


Cheeks
Like you yourself pointed out, she doesn't contour cause she is blessed with some killer cheekbones. So I haven't contoured either and simply used Lakme Absolute Moonlit Highlighter's Darker shade as blush on my cheekbones... Am pretty happy with the result ;)

Lips
Am wearing NYX Heredes lippy topped with Colorbar Star Metal Lip Gloss in Astral.

Skin
She has a luminous glow on her face (all the time), my trick is to mix a bit of orangish golden highlighter or even eye shadow (skin illuminator would be best) with your moisturiser or foundation and apply it all over. Of course this needs a lot of practice :P     


Here's the look...


2. Regarding Mineral Blushes, then I must say I endorse them wholeheartedly and since they are known to be good for the skin as well as not block pores I think they are perfect for summers :) Go for it! :D

P.S. Haven't I tanned a lot? I am quite loving it actually :) "Pati" says I look like "Eva Mendes".. Ok I know he is just saying it, but a girl can dream now can't she? ;)

Pointers From the Readers:
1. PARITA says,
     You are looking gorgeous girl even when tanned! btw another point I want to add if you dont mind is..if you check out both the pics..her under area area is really bright! so if you want the blush to come out in proper color use a good under area concealer and drag it down towards the cheekbones! then apply your blush :)
 

Thursday, March 22, 2012

Video Tutorial (reader request): Purple Blue Look

As you all know Zara had asked me to do a tutorial for a blue and purple makeup look, which she wanted to wear for a friend's reception. A few posts earlier I had shared the finished look with you all. Here is the video tutorial now :)

Products Used:
Face
1. TBS Extra Virgin Minerals Cream Compact
2. Illamasqua Blush in Morale
3. Lakme Absolute Moonlit Highter
4. MUFE Star Powder in shade 940

Eyes
1. NYX Eye Shadow base
2. Inglot Eye Shadow DS72 on the lid.
3. Matte Blue Eye Shadow from Sleek Bad Girl Palette for the crease
4. Blue Eye Shadow from L'Oreal Azur Blonde Trio
5. Revlon Diamond Lust Eye Shadow in Plum Galaxy
6. Maybelline Gel Liner
7. Colorbar Waterproof Liquid Liner
8. Maxfactor False Lash Effect Mascara

I hope you like the video :)
 

Sunday, March 18, 2012

Video Tutorial (reader request): Black Smokey Eyes

I am starting with a series of video tutorials based on my reader requests and this look is the first of the lot requested by Heer. She wanted a classic black smokey eye look with Nude Lips.
Products Used 
Face
1. TBS Extra Virgin Mineral Cream Compact Foundation
2. Lakme Absolute Moonlit Highlighter
3. Colorbar Blush in Floral Fuscia 


Eyes
1. MAC Painterly Paint Pot
2. Faces Kajal as base
3. Inglot Eye Shadow in M378 (Taupe shade)
4. Black Eye Shadow from Sleek "Bad Girl" Palette
5. Maybelline gel liner
6. Colorbar waterproof liquid liner
7. Maxfactor false lash effect mascara

Watch "Makeup Tutorial: Black Smokey Eyes" on YouTube


Tuesday, March 13, 2012

Video Tutorial: Wearable Orange EOTD

As promised earlier in the morning, I am ready with a video tutorial for the EOTD I did with while reviewing Ingot eye shadow DS 51. Like I mentioned earlier today in my review, this eye shadow is a gorgeous warm Orange shade that seems to be flattering to all skin tones.

Let me now go ahead with the tutorial :)


Products used:
1. The body shop extra virgin minerals cream compact foundation<br>
2. Colorbar blush in floral fuscia<br>
3. Make up for ever star powder in 940
4. Ingot eye shadow in DS 51
5. Ingot eye shadow in Pearl 421
6. Maybelline gel liner in black
7. Colorbar water proof liquid liner
8. Nyx eye shadow base

Video tutorial
http://youtu.be/JRjqAmYWlYU

Mobile Phone Compatible


Cannot be viewed on a cell phone :(


Sunday, February 19, 2012

LOTD & Video Tutorial: A Quick Makeup Look

I told you all last week how my Saturdays are generally spent with my guy going to office and me getting ready and seeing him for lunch :) Well this Saturday was no difference and we went to Cafe Linger On for lunch where we actually won a Quiz contest held by them as well ;) So all in all a Saturday well spent! :D

Here's the look I did this Saturday... Nothing too fancy rather a quick one mostly cause I slept in late and well wasn't left with much time to get ready ;) So I did a flat 4 mins look and tell me if you guys like it... Also, as you all know I am lately obsessed with making video tutorials, I have made one for this look too. Its a quick look, makes you look all fresh and girly and hence perfect for a daytime appointment :) Do check out the video as well and "like", "favorite" and do "subscribe" :)


This honestly is a flat 4 minutes look and perfect for times when you are in a serious hurry! :D
P.S. I have done a similar look in the past but then I haven't really done a tutorial for it before :P

And here's the tutorial for it!


Feedbacks are welcome! :)
And do subscribe to my channel :)


Saturday, February 18, 2012

Video Tutorial: Spring Make-Up

First off, thank you to all of my readers and new "youtube" subscribers for liking my first video tute and hence encouraging me and making me all confident about doing such video tutorials... And so I am here with another ;)

The look I have done here is a pretty and a girlie Spring Make-Up...
Hope you guys like it. Do check it out on youtube... Comment, Like and Do Subscribe :)


Link to the youtube video...
http://www.youtube.com/watch?v=eLx6BGDUyVw&feature=plcp&context=C354ae8aUDOEgsToPDskK2fqCNxbesWAhCkyg9_NIN


Hope you like it :)

Thursday, January 26, 2012

TUTORIAL & LOTD: Soft Shimmery Green Eye Makeup

You all know what a s*cker I am for smokey eyes, which is often not very wearable and inappropriate for very many occasions especially Indian wedding related. For example what if there is an engagement ceremony during lunch. What we often do is end up patting some golden/copper eye shadow and a nice Red or a Pink lipstick and we are ready to go. My today's look is for one similar occasion and the best part is that it is really simple to do :)
Here's the look!


Products Used:
Products Used
Face
I have not udes anything, but you are obviously welcome to use your favorite products :)
Eyes
1. Faces Sparkle Dust Stack of loose pigments
2. Faves Kajal
3. MAC Painterly Paint Pot
4. Maybelline Gel Eye Liner
5. Maxfactor Fake Lash Effect Mascara
6. Colorbar Waterproof Liquid Eye Liner

Lips
1. Faces Rouge Lipstick in Catherine

Cheeks
1. Lakme Absolute Moonlit Highlighter (Bronzer Shade)

Procedure
1. First prime your lids with a base. I have used MAC Paint Pot in Painterly.
Applying base
2. Next, take a "kajal" and smear it on your lids and then smudge it with your fingers. You need not be neat with it :)

3. Apply some highlighter on your brow bone. 


4. Then, taking a flat eye shadow brush apply the green shadow all over the lids (yes over the smudged kajal too).


5. Next, taking the same shadow with a blending brush (I am using Faces brush 106) apply it on your crease and blend in a to and fro motion.


6. Finally, apply liner on your lower waterline and your upper lashline.
7. Finish the look by applying some mascara.
8. Apply lipstick and blush and you are ready to rock the part :)


Hope you guys liked the look and find the tutorial helpful :)

Thursday, January 19, 2012

TUTORIAL: Soft Gray Smokey Eyes

As promised in the morning today, I am here with a tutorial on soft gray smokey eyes, which was the first of my "Makeup for Office" series :) 
Soft Smokey Eyes for Office
 Before I start with the pictures, let me give you guys a few pointers:
1. For doing any kind of smokey eyes, it is important to keep in mind that the black or the dark shade that we want to use in the crease should be matte and no other finish.

2. Since it's a smokey eye for OFFICE and for the DAY, it is important to keep the whole smokey effect subtle and hence the black shadow that I have used is of less pigmentation. Plus while blending it in the crease I have kept a very light hand.

3. Finally, a good blending brush is an essential for a well blended out smokey eye.

The Products Used:
The Products Used
For the eyes I used:
Face
No base makeup.

Eyes
1. MAC Paint Pot in Painterly as base
2. Oriflame Mono Eye Shadows in Smoky Rose and Midnight Black
3. Colorbar Water Proof liquid liner
4. Maybelline Eyestudio Lasting Drama Gel Liner for the waterline
5. Maxfactor False Lash Effect Mascara

Lips
1. Colorbar Velvet Matte Lipstick in Creme Cup1

Cheeks
1. Colorbar Blush in Plum Brown
 

The Tutorial
1. First off, I applied MAC Painterly all over my lids and prepared the base. 
2. Then taking the gray shadow using an eye shadow brush, I applied it all over my lids in a pat-pat motion.


3. Next taking some black shadow with my Faces Blending Brush No 106, apply it in my crease and blend well with the gray shadow in a to and from motion.


See the left eye for directions about where to place the black shadow and the right eye denotes the finished blended out look.

4. Finally, apply some liner and mascara and your eyes are set to rock :)
Observe the lightly applied black eye shadow in the crease area and see how it has been blended into the gray shadow giving it a smoked out look.

For the rest of the face, I applied some blush and a nude lippy :)