Showing posts with label Tutorial. Show all posts

Saturday, July 14, 2012

Hair Tutorial (Video): Three Ways To Pouf Your Hair

On popular demand I am here with my first hair tutorial :) It's a basic tutorial that shows you three ways to pouf your hair and look all glamorous Hollywood style ;)


I hope you guys like it and do like and comment on it. And yes please do subscribe to my youtube channel here:


And here's the link if you want to watch it directly on youtube :)
http://youtu.be/LSTrPgu_wwk

You can subscribe to my YouTube Channel Here :)                                           

Thursday, June 14, 2012

READER QUERY: Tips For Natural Looking Makeup

Hi Samyukta,

Thankyou for your response !
I am a make-up fan, however, don’t like patchy/loud makeup..After seeing your nude make-up, I’ve fallen in love with it and would be keen to learn the techniques…Also, would like an advice on whether it will suit me & what best colours could go with my complexion...I would appreciate if I could be one of the selective few to understand this style from you J

Regards
Reshma Suri

Thank you Reshma for your kind words :) I am so glad you liked my nude/natural makeup look and would like to try it out for yourself too :) I feel honored...

Here are a few looks of mine in neutral/nude makeup...


If you observe all these looks closely, you'll notice a pattern... Glowing skin, defined lips and healthy glossy lips. So we're gonna see how we can achieve that today...

Now before I start with various techniques and pointers to achieve a flawless natural lool here is a list of tools and products that we shall be needing:
1. A blending brush 
    I recommend either Faces 106 or MAC 227 brush

2. A neutral eye shadow or an eye shadow palette
    I recommend either Maybelline Diamond Shine eye shadow quad in Copper 
    Brown or MUFE Star Powder in Shade 940 or actually any neutral shade that 
    you have would do :)

3. A nice highlighter and bronzer
    I love using the Lakme Absolute Moonlit Highlighter Duo.

4. A Nude Lipstick (Matte preferable)
    This should be any lipstick that looks nude on you. I recommend either 
    Colorbar Velvet Matte Lipstick in Bare or any of the nude MAC lippies... I 
    personally prefer MAC Taupe :)

5. A Clear Lipgloss
    I love using Body Shop's Lip Treatment Gloss in Beige Sparkle. You could use 
    any of your favorite clear glosses :)

6. A light to medium coverage foundation which gives a dewy finish 
    rather than a matte look.
    I have dry skin and I swear by these three foundations: Maxfactor's Second 
    Skin Foundation, TBS Extra Virgin Minerals Cream Compact Foundation and   
    MAC Mineralize Compact Foundation with SPF15. 

7. A Concealer
    If you don't have a dark circles problem you can easily get away with 
    Colorbar's Stick Concealer. I use it and love it! If your dark circles' problme is 
    more persistent I would suggest MAC Select CoverUp concealer. 

Now for the basics... When doing a nude/natural makeup there are the basic steps,
1. Since we shall be using only nude/neutral colors, it is important to give your maximum efforts to your skin. We need the skin to look flawless and polished. Avoid going for a matte look as it tends to look severe. Rather aim at making your look glowy and dewy :) It automatically takes years of your face and makes one look fresh and attractive.

2.  Try to use a light coverage foundation if you already have good skin... Go for medium coverage if there are a few areas that you want to cover up. DO NOT use a heavy coverage foundation. It ends up looking all "made up" and hence defeats the purpose of a natural looking makeup :)

3. Use concealer on the under-eye region. Yes using a concealer is a must. You can skip other regions, but under eye concealing should not be skipped. It can make or break your whole look in a second!

4. Use the concealer under your foundation!

5. If you wish you could finish off the base makeup with a finishing powder especially if you are worried about oiliness. I generally do not use a finishing powder cause not using one works for me better than using one :)
If you are using a finishing powder be sure to use one without any glitter or reflecting particles!

6. Once you are done with your base, apply your eye primer and then your neutral eye shadow on your lid with a flat eye shadow brush in a "pat-pat" motion. Do not rub or swipe the shadow but "pat" it to apply for better pigmentation.

7. Next taking a blending brush, blend the edge of the eye shadow in the crease area in a wiper motion. This basically blends out the harsh edges of the eye shadow and gives a more "natural" look to your eyes :)

8. Next apply a brown liner on your LOWER lashline. And apply a thin black line of liner on your upper lashline. The key is to have a lighter liner on your lower lashline and a darker shade on the upper lashline. This makes the eye pop up and not look tired!

9. Then apply some highlighter shade to your browbone area. I strongly recommend MAC Ricepaper for skintones NC36 to NC45.

10. Finish off the eye makeup with a lavish coat of volumizing mascara :)

11. Next apply a neutral looking cream blush patting it with your fingers... Then apply a matte powder blush of your choice on top of it very lightly.

12. Apply your favorite nude lippy and top it off with a hint of clear gloss only in the middle of your upper and lower lip.

13. Finally finish off with a sweep of highlighter on your cheekbones, bridge of your nose and the center of your forehead. 

Optional 
Now, these optional tips are to be followed according to season and occasion.
1. If it's Summer, instead of the cream and powder blush combo, you could use a bronzer on your cheekbones and the bridge of your nose and bit on your chin. This gives a sun-kissed look.

2. If it's the rainy season, be sure to go for water-proof makeup and instead of a nude lippy go for a bright shade like Coral/Pink. 

3. If it is the Winter season, you can go for a richer shade of lipstick like Berry, Plum or Fuschia Pink or my favorite Red :)

4. If the occasion asks for a "dressy" look, instead of a neutral eye shadow go for a golden eye shadow and instead of nude lips go for a brighter shade.

5. If you are getting ready for office, you can altogether skip the highlighter.

6. Finally, if you just want a change from the routine natural looking makeup, use a pink eye shadow on your lids and define your lower lashline with kohl instead of a brown liner :) But remember to line your upper lash line with a black liner.
OR
Line your upper lashline with a fun, colored liner like Metallic Blue, Silver Grey or even Green :)

I hope this post helps you Reshma and even anyone wants to add anything else then please do so through the comments section :D 

Tuesday, May 8, 2012

Reader Request: Anushka Sharma's MakeUp in the Canon Ad

Basically, importantly, fundamentally many beauty bloggers have already done this tute like Sukanya and Bidisha but Pranali has been asking me to do this since two weeks now and she kinda gave me an ultimatum to do it on Sunday during our blogger's meet and well I had to oblige :)

Sukanya and Bids you did some awesome work on it and I totally "dig" both your tutes... I hope my doing this tute isn't gonna step on any toes :) I will be doing my interpretation of the look :)

Honestly? I have taken the picture quadrant from Sukanya's blog "A Few Unnecessary Stuff" :D

My Interpretation
Anushka's look is actually a very simple, everyday look with well defined eyes and peachy lips. The overall look is crisp and can be worn almost everyday. I am even wearing it to office today :)


1. Let us analyse the eyes first...
The eyes as you can see is well defined with kohl in the waterline and no fuss with any nude or white liner to make the eyes seem bigger and stuff. If you notice her eyes in the first three quadrants, you'll feel like she has applied a lot of black smudged liner on her upper lids but if you see her profile which is the fourth quadrant you'll notice that her upper lids are actually quite crisp and thinly lined. The kohl on the lower lashline on the other hand has been smudged with a brown eye shadow.
Also her crease has been defined using a nude shade of brown eye shadow.

2. Zero or negligible blush
I have applied quite a bit of blush as I dp not have a long face like Anushka. I have more of a round face and so to make it look longer I had to apply a blush :)

3. Warm Peach lips...
Since I have pigmented lips and a lot of "yellow" undertone,Peach lippies kinda look Pink on me. So I have a darker Orange gloss to create the "warm" effect.

Tutorial
1. Take a nude/neutral brown eye shadow and using a stiff blending brush apply it in the crease area to deepen your crease. I have used MAC Texture eye shadow with MAC 226 brush.


2. Next take a very natural looking highlighter shade and apply it on your browbone area. I have used MAC RicePaper.


3. Then apply kajal on your lower waterline. Re-apply to make it really dark. I have used my Maybelline Gel Liner.

4. Then taking the same neutral brown shadow used in step 1 using a flat smudger brush, smudge the kajal in the waterline with the shadow on the lower lashline. I am using COlorbar's brush number 122.


5. Finally apply a liquid liner (no a pencil liner or gel liner not allowed :P) on the upper lashline very thinly. Finish your look with a mascara :D

6. For the cheeks I have used a bronzer and Colorbar Star Metallics Lip Gloss in Astral for the lips :)


Hope you like the tutorial :)

Sunday, February 19, 2012

LOTD & Video Tutorial: A Quick Makeup Look

I told you all last week how my Saturdays are generally spent with my guy going to office and me getting ready and seeing him for lunch :) Well this Saturday was no difference and we went to Cafe Linger On for lunch where we actually won a Quiz contest held by them as well ;) So all in all a Saturday well spent! :D

Here's the look I did this Saturday... Nothing too fancy rather a quick one mostly cause I slept in late and well wasn't left with much time to get ready ;) So I did a flat 4 mins look and tell me if you guys like it... Also, as you all know I am lately obsessed with making video tutorials, I have made one for this look too. Its a quick look, makes you look all fresh and girly and hence perfect for a daytime appointment :) Do check out the video as well and "like", "favorite" and do "subscribe" :)


This honestly is a flat 4 minutes look and perfect for times when you are in a serious hurry! :D
P.S. I have done a similar look in the past but then I haven't really done a tutorial for it before :P

And here's the tutorial for it!


Feedbacks are welcome! :)
And do subscribe to my channel :)


Saturday, February 18, 2012

Video Tutorial: Spring Make-Up

First off, thank you to all of my readers and new "youtube" subscribers for liking my first video tute and hence encouraging me and making me all confident about doing such video tutorials... And so I am here with another ;)

The look I have done here is a pretty and a girlie Spring Make-Up...
Hope you guys like it. Do check it out on youtube... Comment, Like and Do Subscribe :)


Link to the youtube video...
http://www.youtube.com/watch?v=eLx6BGDUyVw&feature=plcp&context=C354ae8aUDOEgsToPDskK2fqCNxbesWAhCkyg9_NIN


Hope you like it :)

Sunday, February 12, 2012

READER REQUEST: Tutorial -> Sparkly Purple Eyes and Pink Lips!

Hellllloooo everyone! :) It's a Monday today and a whole new week of "work" looms in front of us :P But fear not! A new week also brings with it new hopes, aspirations and a quite a handful of surprises! :D

So anyways, a few days ago if you all remember I did a review on Revlon Diamond Lust Eye Shadow in Plum Galaxy. Well Shivani that day had asked me to do a tutorial on the look I had done for the review cause she was to attend a cousin's wedding and her saree was of the same color :) So here you go Shivani, the tutorial's all ready :)

Products Used:
1. Oriflame Cream Eye Shadow Base Palette in Blues & Lilacs
2. Revlon Luxurious Color Diamond Lust Eye Shadow in Plum Galaxy
3. MAC Eye Shadow in Beauty Marked
4. Maybelline Gel Liner
5. Colorbar Water Proof Liquid Eye Liner
6. Maxfactor False Lash Effect Mascara

Finished Look

Tutorial
1. I primed my eyes with Oriflame Cream Eye Shadow Base in Purple. Applied it over my lids till the crease area.


 2. Next, taking Revlon Plum Galaxy, I applied it all over my eye lids liberally in a "pat-pat" motion.


3. Next, taking MAC Beauty Marked, I applied it in the crease area.


4. Using Lakme Absolute's Moonlit Highlighter, I highlighted my brow bone area :)

5. Next I took Faces Blending Brush in 106 and blended in the purple shadow on the lid and beauty marked in the crease into the highlighter on the brow bone.

6. Finished the look with some kajal, eye liner and mascara and voila! Ready for the evening :D

P.S. Yes it does seem that I have tanned :D

Wednesday, February 8, 2012

GUEST POST: Valentine's Day Look and Tutorial

Guest Post by Bidisha

You all know that I have a giveaway underway on ISimplyLoveMakeUp where I will have two winners. One winner wins a GlossyBox and another winner will win three of my favorite lipsticks :) If you haven't entered it yet then worry not beauties you can still enter it here. As a part of one of the rules, Bidisha from http://glisteningkaleidoscopiceyes.blogspot.in has very sweetly done a guest post about a Valentine's Day look and a tutorial :) I wont introduce her to you all just yet, for that you'll have to be a little more patient and wait for a couple of more days ;) So over to her for now...
Hello everyone...
This is Bidisha here
I am so excited today to write a post for my adorable friend suma <3
So today i thought of doing an easy eyemakeup tutorial for you all
This particular eyemakeup can be done during day and is also suitable for evening !
In this tutorial I used sponge applicator instead of brushes.
So lets get started with the tutorial
Here is the step by step pictoral demonstration >>>>>>>

1.First apply concealer around your eyes to hide the darkness (if any)
2.Then apply a mauvish silver frost eyeshadow all over the eyelids (I used Deborah Milano Ombretto mono hi-tech eyeshadow)
3.Then apply a taupy/bronzy brown eyeshadow on the outer corner of your eyes (I used the brownish shade from Lakme botanica eyeshadow quartet)
4.In order to give a twist to your eyemakeup, apply a burgundy/cranberry colour eyeshadow on the transition area where the mauve and brown meets; don't forget to blend the colors well. (I used the cranberry shade from the Botanica quad again)
5.Then apply your favourite black kohl liner on the waterline.
6.To intensify the eye makeup, line your upper lashline with that black kohl liner instead of liquid liner.
7.Finally finish off the makeup using a good black mascara on the lashes ! (I used Maybelline colossal volume mascara)

And here's the final look >


I hope you all liked this eye makeup tutorial
On my face i just applied Lakme rose powder and on my lips i used my favourite Avon lip balm in cherry
Since this is an eye makeup tutorial i didn't focus much on blush and lipstick !
I hope you all enjoyed this quick tutorial...
Do comment to share your views :)
with love,
Bidisha !

Saturday, February 4, 2012

LOTD & TUTORIAL: Fun and Flirty Eyes with Coastal Scents Original :)

Though my guy runs a software firm, he doesn't really believe in IT's 5 days a week working policy. So every Saturday sees me sleeping in late while the guy rushes to office early morning. And so our Saturday lunch rituals are generally in his office and this gives me an opportunity to doll up and then meet him for lunch :) hehehe...

So today I took this blue flared skirt of mine with some white embroidery and a Red top :) And since the look was all girlie, fun and summery I took out my Coastal Scents Original palette for its plethora of colors and created this EOTD :) Hope you guys like it!
Top and Skirt from Westside
  

EOTD with 3 shades of eye shadows

Hope you guys liked the look :)

Products Used
1. Coastal Scents Originall 88 Eye Shadow Palette
2. Lakme Absolute Moonlit Highlighter
3. Inglot Lip Pan in Shade 41
4. Colorbar Blush in Plum Brown
5. Maybelline Gel Liner
6. Colorbar Water Proof Liquid Liner
7. Maxfactor Lash Effect Mascara
8. MAC Pint Pot in Painterly

Tutorial
1. Prime your eye lids. Tith Coastal Scents its important cause some of its shadows aren't as pigmented as the others. I have used MAC Paint Pot in Painterly.
Prime your Lids
2. Next taking the brightest yellow shadow in the palette with a flat fluffy eye shadow brush apply it from the inner corners of the eye to half the lid.


3. Next taking the brightest blue in the palette with the same brush apply it from the outer corners to half the lid.


4. Finally taking the Orangish Red from the palette using my Faces blending brush (no 106) I applied it on the crease and blended in.


5. Applied the highlighter on my brow bone, maybelline gel liner on my waterline and Colorbar liquid liner and mascara and voila! finished the look.

6. For the complete look I applied some blush and a neutral lippy :)
So how did you guys like the look? And did you find the tute helpful?

Thursday, January 26, 2012

TUTORIAL & LOTD: Soft Shimmery Green Eye Makeup

You all know what a s*cker I am for smokey eyes, which is often not very wearable and inappropriate for very many occasions especially Indian wedding related. For example what if there is an engagement ceremony during lunch. What we often do is end up patting some golden/copper eye shadow and a nice Red or a Pink lipstick and we are ready to go. My today's look is for one similar occasion and the best part is that it is really simple to do :)
Here's the look!


Products Used:
Products Used
Face
I have not udes anything, but you are obviously welcome to use your favorite products :)
Eyes
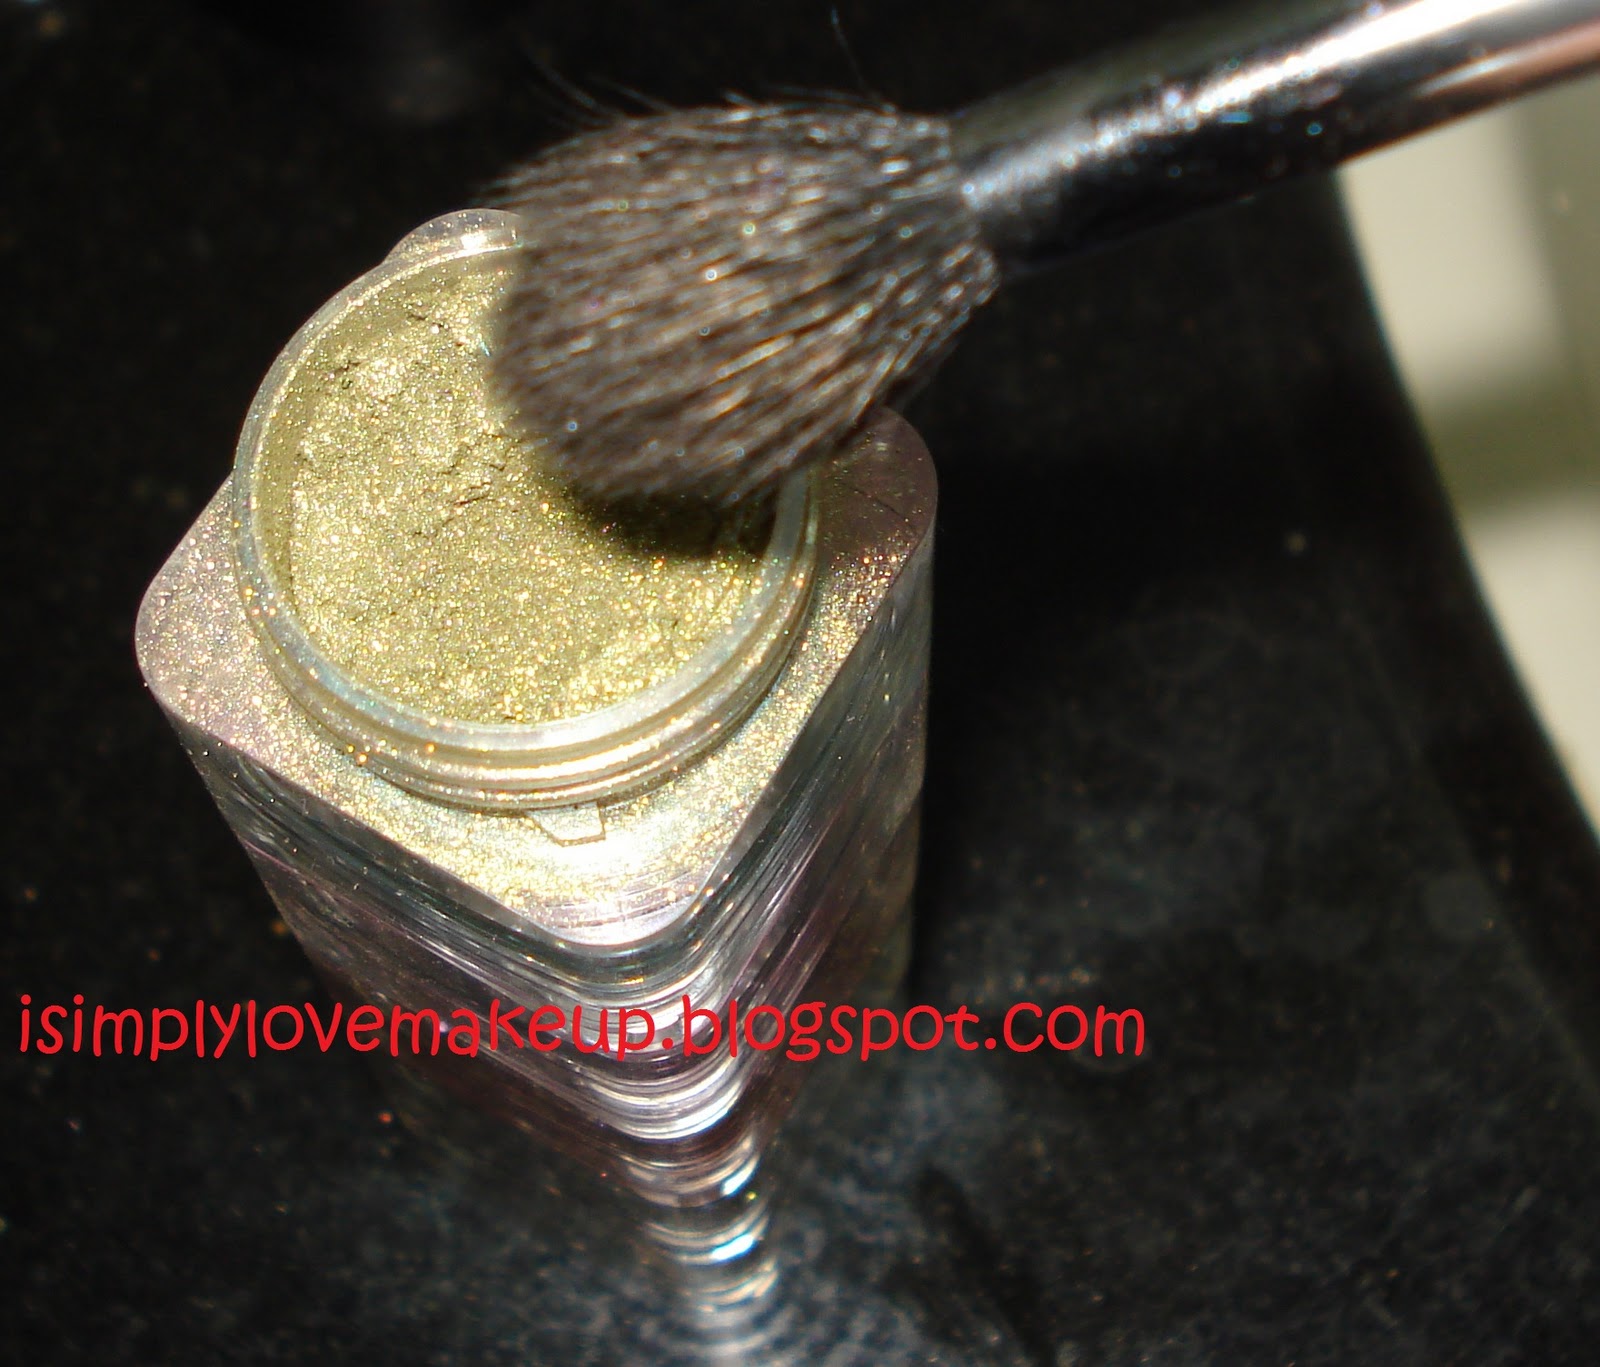
1. Faces Sparkle Dust Stack of loose pigments
2. Faves Kajal
3. MAC Painterly Paint Pot
4. Maybelline Gel Eye Liner
5. Maxfactor Fake Lash Effect Mascara
6. Colorbar Waterproof Liquid Eye Liner

Lips
1. Faces Rouge Lipstick in Catherine

Cheeks
1. Lakme Absolute Moonlit Highlighter (Bronzer Shade)

Procedure
1. First prime your lids with a base. I have used MAC Paint Pot in Painterly.
Applying base
2. Next, take a "kajal" and smear it on your lids and then smudge it with your fingers. You need not be neat with it :)

3. Apply some highlighter on your brow bone. 


4. Then, taking a flat eye shadow brush apply the green shadow all over the lids (yes over the smudged kajal too).


5. Next, taking the same shadow with a blending brush (I am using Faces brush 106) apply it on your crease and blend in a to and fro motion.


6. Finally, apply liner on your lower waterline and your upper lashline.
7. Finish the look by applying some mascara.
8. Apply lipstick and blush and you are ready to rock the part :)


Hope you guys liked the look and find the tutorial helpful :)